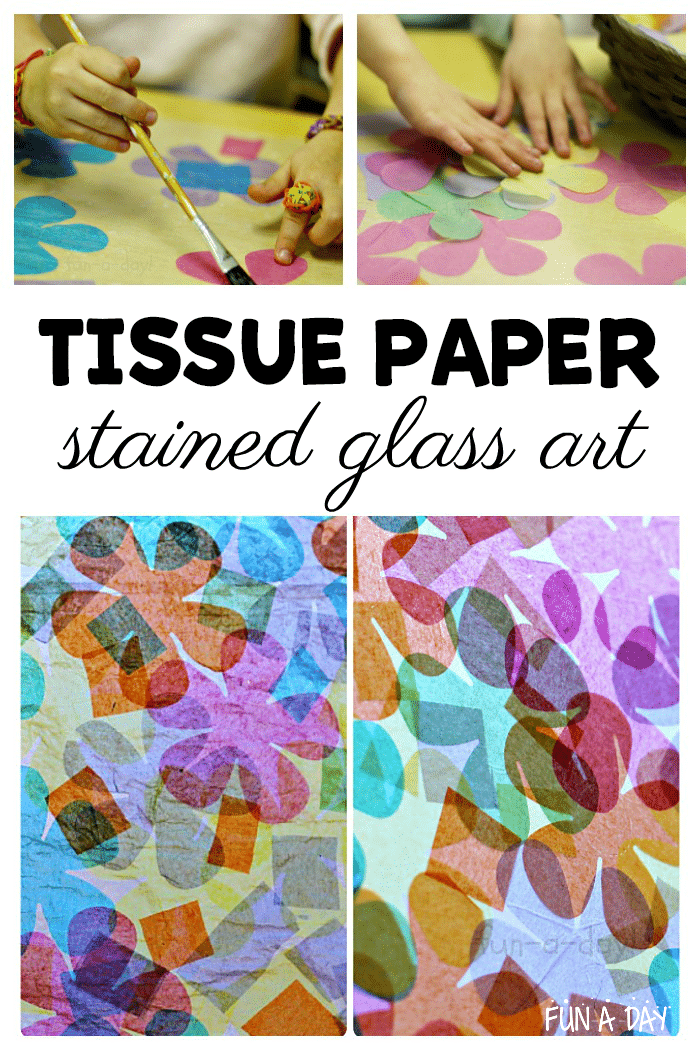
Tissue paper stained glass art is one of the more versatile art projects for kids. You can use this same technique for almost any theme, holiday, or season art you want to plan!
Below, I share two different ways you can create stained glass art with tissue paper. Both techniques are very low-prep and neither require that many materials.
If you get the chance to, I highly recommend setting up an art experiment to determine which is the “best” way to make tissue paper art. It was such fun to combine art with a science experiment. The kids had an absolute blast with it!
Related: Spring Activities for Preschoolers
This art was inspired by my first preschool classroom, which was in the basement of a church. The windows of the classroom only showed a sliver of sky and had grates covering part of them.
Needless to say, we didn’t always get a lot of color or sun coming in through those windows.
As spring was closing in, I thought it would be fun to brighten up those windows and hide the grates. What better way to do that than with beautiful spring tissue paper art?
How to Make Tissue Paper Stained Glass 2 Ways
The kids definitely had a blast exploring these “stained glass” art techniques. They ended up decorating our classroom windows all spring!
Materials
I may get commissions for purchases made through links in this post.
- Tissue paper in various spring colors
- Wax paper
- Liquid starch
- Paintbrushes
- Contact paper
Set Up
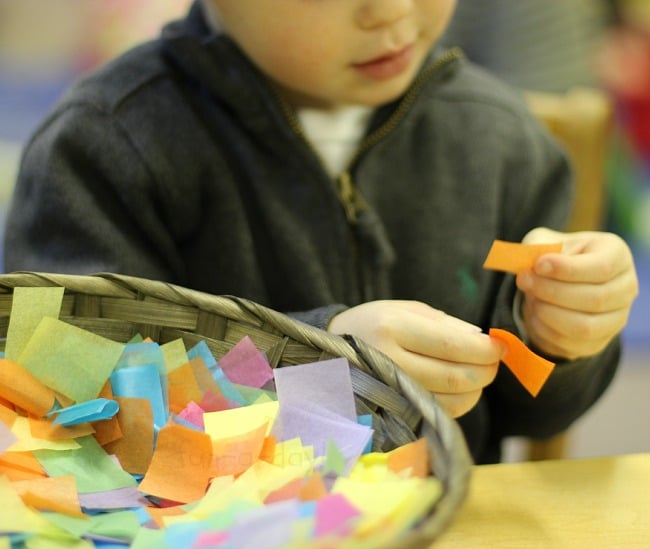
Start out by cutting some squares out of tissue paper. You can cut any shapes you’d like, really. Even better, let the kids cut out their own tissue paper shapes!
I used the school’s paper cutter to cut the tissue paper squares. This die-cut machine made easy work of cutting flowers out of tissue paper, too. You can, of course, also cut some flowers out by hand.
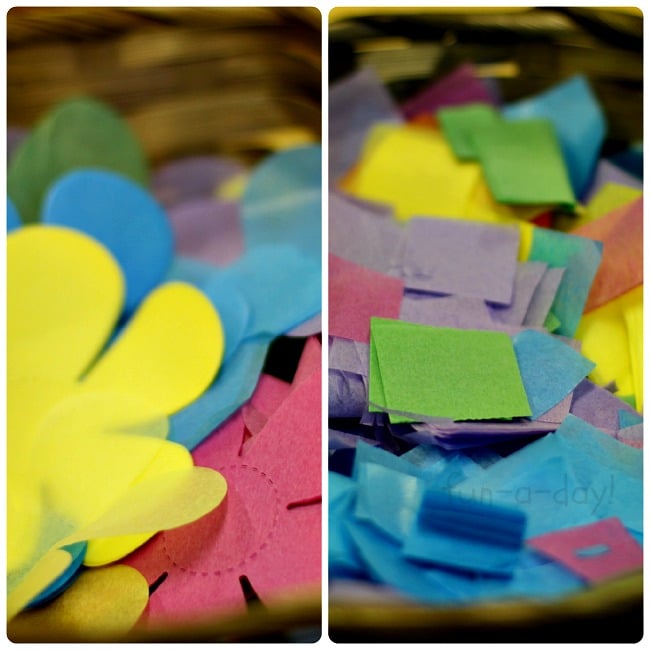
Next, place the various tissue paper shapes in separate baskets or out on a tray. This way, the kids can pick and choose which shapes to use for their tissue paper stained glass projects.
Related: What is Process Art for Kids?
A Quick Field Trip
Consider taking a trip to a local church, or an art gallery that exhibits stained glass. Since I taught in a church preschool, I was able to bring the children to the church’s sanctuary.
We kept the lights off and observed the various stained glass windows in the sanctuary. The kids and I talked about the colors and textures of the windows, as well as the basic process behind creating them.

This isn’t a necessary step to the process, but my students really enjoyed it. Plus, it gave them some clear background understanding of what real stained glass looks like.
Related: Beautiful Spring Art Projects for Kids
Tissue Paper Stained Glass Art Technique #1
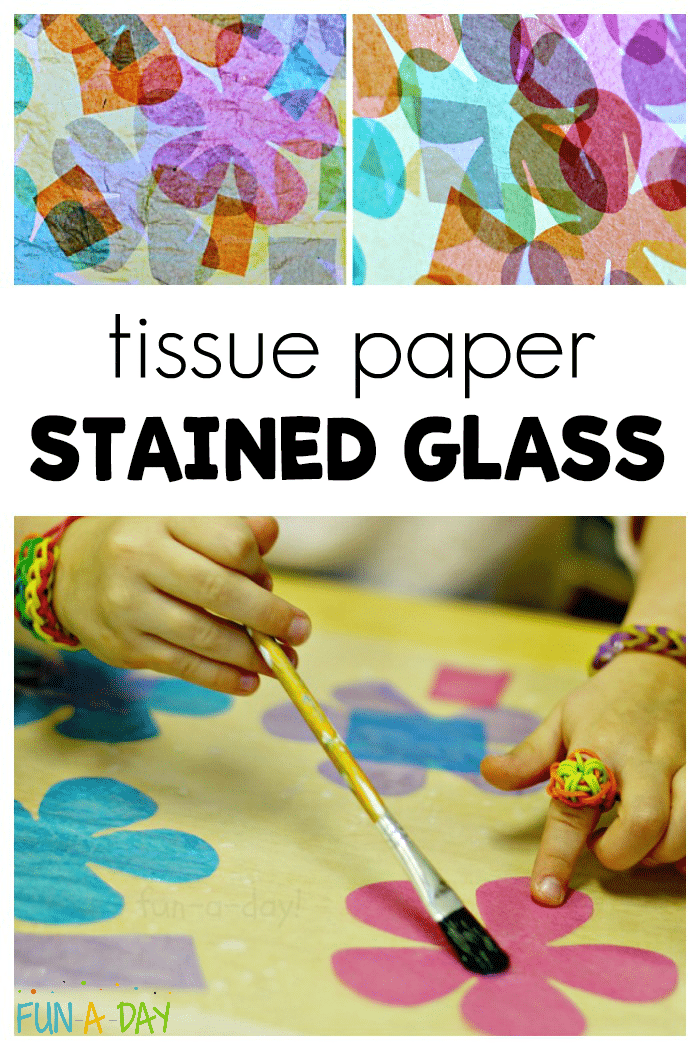
Begin by taping a large piece of wax paper to a table. Then place out bowls of liquid starch, along with paintbrushes.
Model how use the materials by painting a little bit of liquid starch onto the wax paper. Then add a tissue paper shape and add a bit more liquid starch on top.
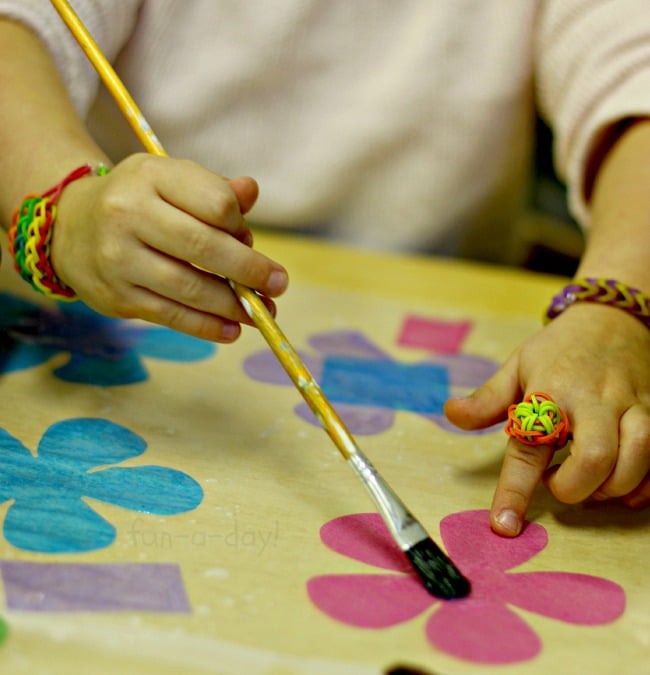
My students were very intrigued by this activity. Some of them sat down and joined in right away, while others popped by later.
Related: Easy Art for Kids with Dot Art
Many of the students enjoyed this process art activity. A few of them were VERY focused on arranging the colors and shapes the way they wanted.
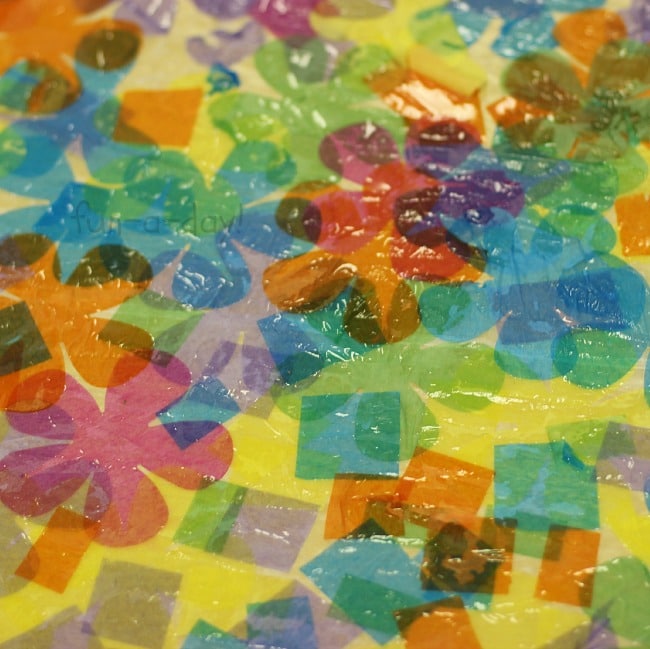
Some did become a bit frustrated when the tissue paper tore or crinkled. It led to some good conversations about why the paper broke and whether or not the art still looked nice. In the end, it wasn’t really a problem.
Related: Rainy Day Activities for Spring Break
Tissue Paper Stained Glass Art Technique #2
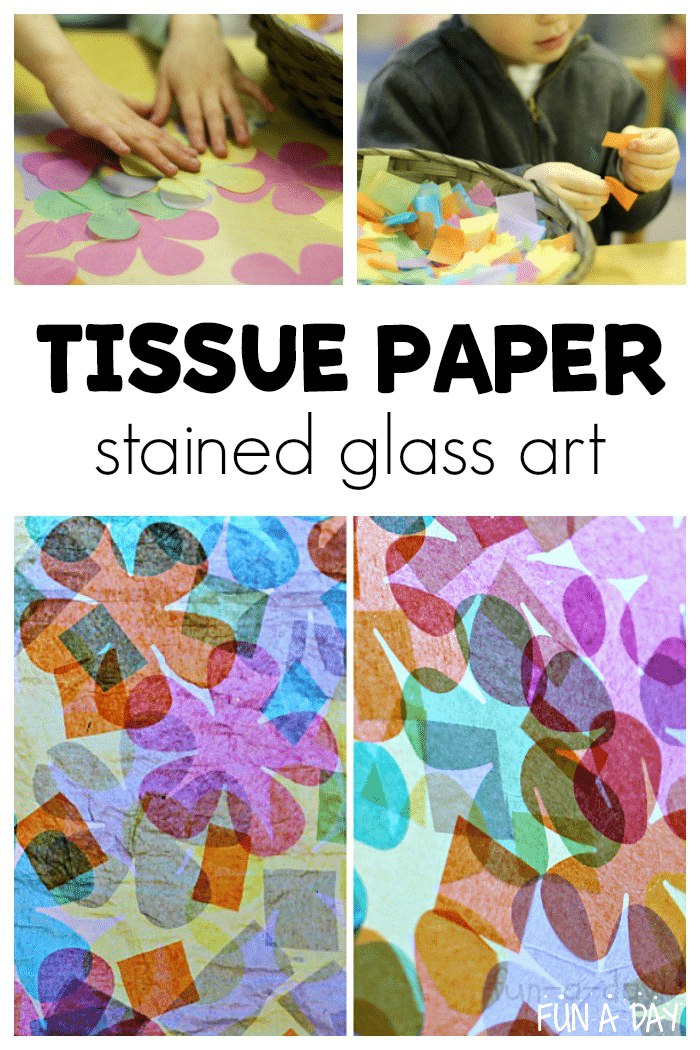
For this version of the art activity, you’ll want a large piece of Contact paper. Tape a piece to a table, with the sticky side facing up. Set out the tissue paper shapes, and then sit back and watch the kids create.
Since the paper was already sticky, the children just use their fingers to place the tissue paper onto it.
Related: Blooming Trees Spring Crafts for Preschoolers
Once again, most of the kiddos enjoyed this process art. Some stayed longer than others, and a few just weren’t interested.
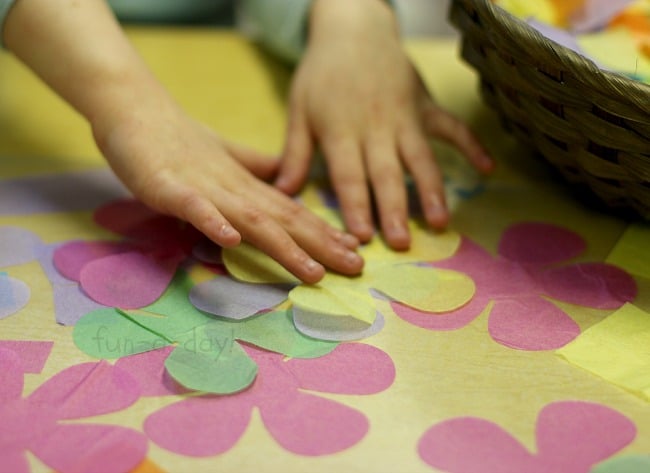
I enjoyed watching the children carefully apply each piece of tissue paper to the contact paper. It seemed that pressing the tissue paper down with their fingers had a kind of cathartic effect.
Related: Counting Flowers Printable Book
Displaying the Tissue Paper Stained Glass
How you display these masterpieces is completely up to you! I enjoyed having them up in our classroom windows for months on end (and so did the kids).
I suggest you use painter’s tape to secure the edges of the art if you’re placing it in windows.
When I asked the children which piece they liked looking at the best, most chose the sticky paper one. When I asked which they preferred doing, the vote was split down the middle.
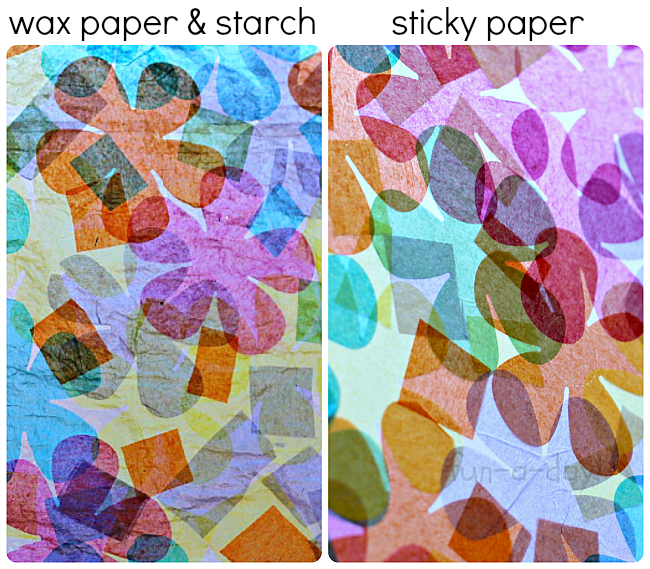
Almost all of the kiddos want to make more tissue paper stained glass windows for the room, and I plan on taking them up on it!
Have you ever created stained glass art using tissue paper? Which of our techniques did you like the best?
More Spring-Themed Fun for Kids
Be sure to check back on Tuesday and Thursday for more spring-themed activities! In the meantime, hop on over to see what my co-hosts are up to today:
Flower Petal Sensory Play from Fantastic Fun and Learning
Butterfly Pancakes – Fun and Healthy! from Nothing if Not Intentional
Spring Activities for Kids: Invitation to Explore Flowers from Buggy and Buddy
Spring Teacher Resources
Want to save time planning? Check out Preschool Teacher 101 for a variety of done-for-you preschool teaching resources. You’ll find lesson plans, math and STEM ideas, and literacy activities. Be sure to read about our membership options for even more savings.
Here are a few spring-themed items you might be interested in. Click on the photos for more information:

Oh, how I adore these! They are so pretty. I’d love to see them hanging on our windows this spring.
These are GORGEOUS! Really neat to see two ways to make them too. And how wonderful that the kids got a chance to see real stained glass!
You know I love a good suncatcher…AND that you were able to make the connection for the kids in the church sanctuary!! You are so good 😉
I love that the kids got to try both ways! I like the glossy look of the wax paper and starch. I haven’t tried that before!
My son and I just made stained glass shamrocks for St Patty’s Day last weekend. Love how they turned out, but were more time consuming than I expected. I used wax paper and part water part white glue. Then I put mod podge over top to give it a hard glossy look/feel. I think the contact paper would have worked much better. Because it’s so cold here, our front door constantly has a slight wet feel to it, so no tape is sticking. Any advice on tape to use? I’ve tried scotch, double sided and packaging.
Oh, I’d love to see how your shamrocks turned out! I like your idea of adding the layer of mod podge for the glossy look. I used painter’s tape to affix our art to the classroom windows. So far, it’s stayed up for a week despite below freezing temperatures. The only other suggestion I’d make is using a mounting putty to hold the shamrocks up (I’ve included an Amazon link here, in case you need it).
Just saw this idea on Pinterest. What a great idea! I’m going to put this on my to-do list with my grandchildren. You are so talented and creative.
Nina, thanks so much for your kind words! Let me know how it goes when you try it with the grandchildren! 🙂
We’ve made tissue paper art with contact paper before but I’ve never tried it with liquid starch and wax paper. I’m happy to say I have both in my cabinet so we can do this project soon!
Great! Let me know how it goes. 🙂
When you do it with the sticky contact paper does it still layer and stick down over initial layer? thank you
Hi Sharon! We often just take the Contact paper version and stick it to the window directly. The times that we’ve covered it over with more Contact paper has worked well, too, yes. I just have to be super careful and place it on slowly so there aren’t big bumps. 🙂
Do you use matt or shiny contact paper for these lovely tissue paper stained glass
projects. They are all beautiful…..thank you….
Thanks so much for the sweet words, Aileen! I tend to just grab the cheapest Contact paper, so I’ve used whatever is on sale at the time. I’m sure either will work well with these!
Dos this work with construction paper as well? On bristle board poster?
I’ve only tried it using tissue paper, but I don’t think it would work as well with thicker papers.
I have the die cut machine but I am having trouble finding a pretty 5 petal die like you used. I noticed you used it also for the coffee filter flowers. Is it possible to share where I can locate it.
Hi Bonnie! I ended up making a flower template for that very reason. You can request the download link for the flower template here. I hope that helps!
How do you make the liquid starch?
Hi Helen! You can purchase liquid starch at most stores or online.