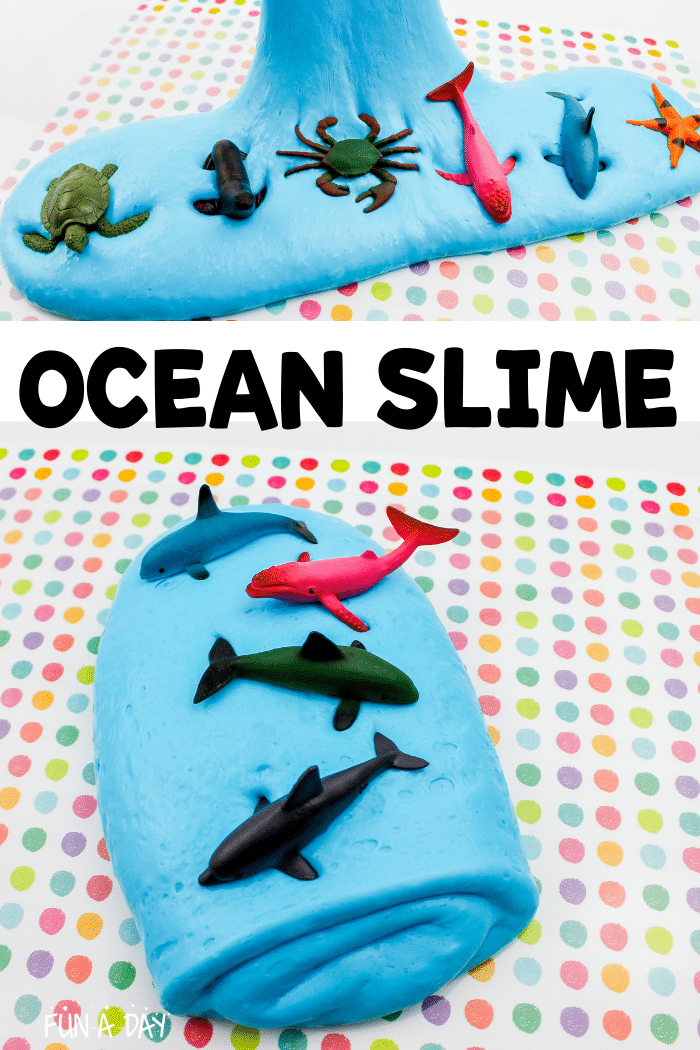
You definitely want to include this ocean slime in your next preschool ocean theme. Tons of science and sensory learning is packed into one fun slime activity.
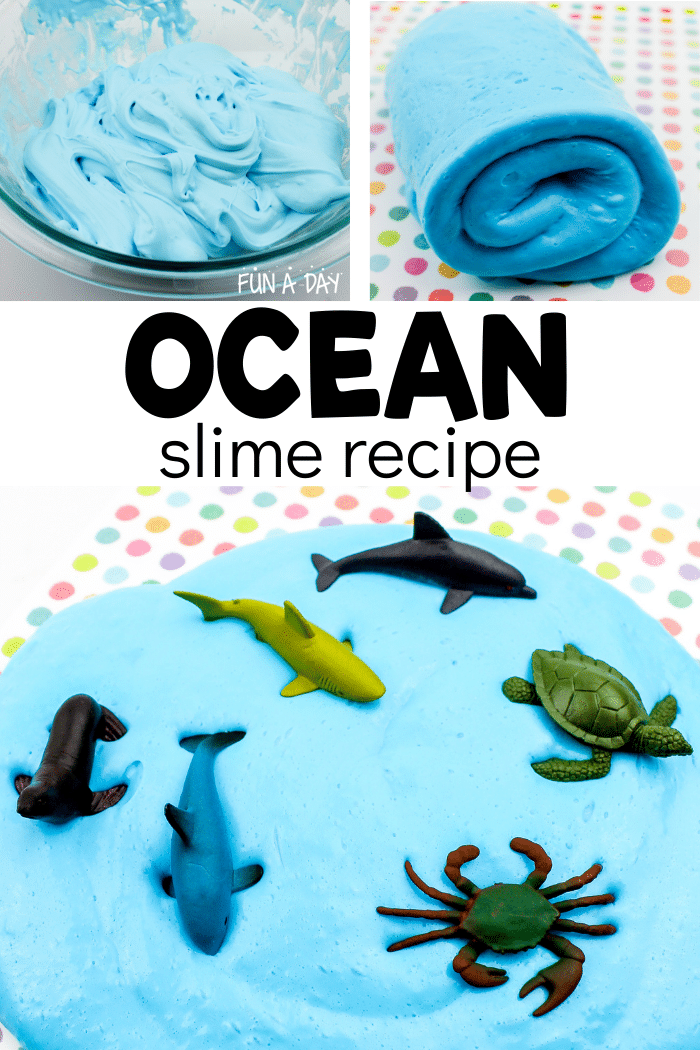
There is no way to explain all of the benefits of making slime with the kids. Here are just a few reasons I, personally, enjoy it:
- It’s a great way to teach science concepts.
- I can adjust the slime based on our themes, the kids’ interests, etc.
- Slime is an amazing sensory experience for the kids, too.
- Plus, it’s just plain fun!
Not everyone enjoys making slime with kids, but I really do! Most kids have a blast with it, and you can weave in so many early learning concepts.
But if you’re not a big fan of slime, you can always choose a different base for this ocean sensory play idea. Oobleck, shredded blue paper, sand, or water beads would all be good substitutions.
Ocean Slime
As I already mentioned, this sea slime would be a great activity to include with an ocean theme. You can also use it during summer camps or really any time because most kids love sea animals. That’s completely up to you!
One of my nephews loves turtles, while another is all about sharks. I might need to send them the supplies to make this slime. Along with lots of turtle and shark toys, of course.
Related: Unicorn Slime: Two Different Ways to Make It
Materials Needed
Most slime recipes use one of only a few base recipes. To get the fluffy texture that you see in these photos, however, you’ll need a particular set of ingredients. Here’s what you’ll need (I may get commissions for purchases made through links in this post):
- 2/3 cup of white glue
- 1.5 tablespoons of contact solution (containing boric acid and sodium borate)
- 1/4 cup of water
- 1/2 teaspoon of baking soda
- 3 cups of shaving cream
- 10 drops of neon blue food coloring
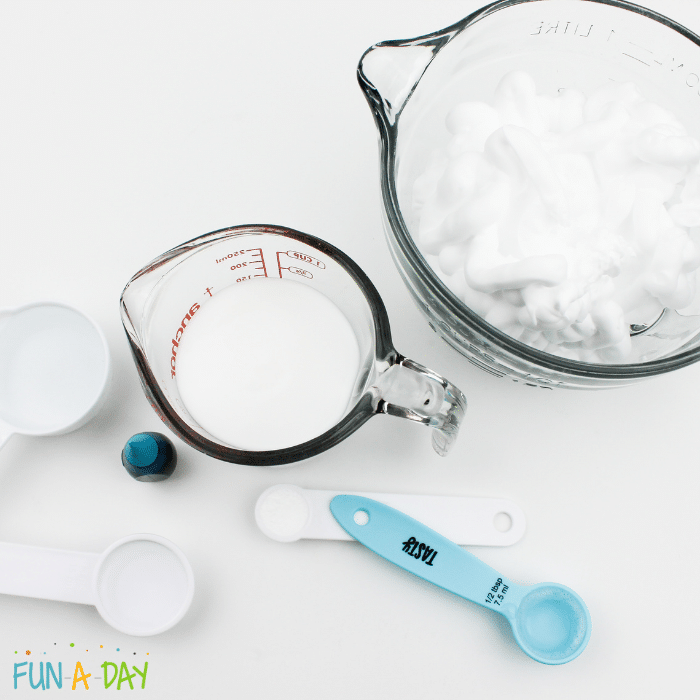
In addition to the slime ingredients, here are a few other supplies you might need:
- Baby oil
- Mixing bowl
- Spoon or craft stick for mixing
- Work mat or tablecloth (to protect your surfaces during slime play)
- Ocean animal toys
Ocean Slime Recipe
The key to this particular recipe is the contact lens solution. If you’d rather, you can make liquid starch slime as the base instead.
Start by adding 2/3 cup of white glue to your mixing bowl. Then add 1/4 cup of water and mix well.
Next, add 1/2 teaspoon baking soda and mix it up again.
Then it’s time for the shaving cream! This ocean slime is fluffy, and the shaving cream makes it that way. Spoon 3 cups of foaming shaving cream into the bowl and stir everything well.
Add 10 drops of food coloring and keep stirring. Add more coloring if you want the ocean slime to be a bit bluer. You’ll notice lighter blue slime in a couple of the photos here – less blue dye was added for that batch.
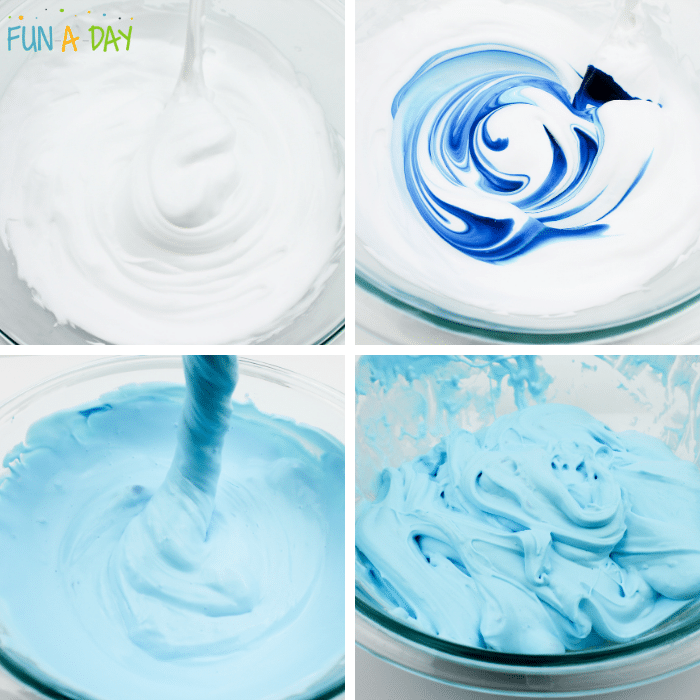
Slowly add 1 1/2 tablespoons of contact lens solution. Continue stirring until slime starts to form inside the mixing bowl. You’ll notice the slime separating from the bowl.
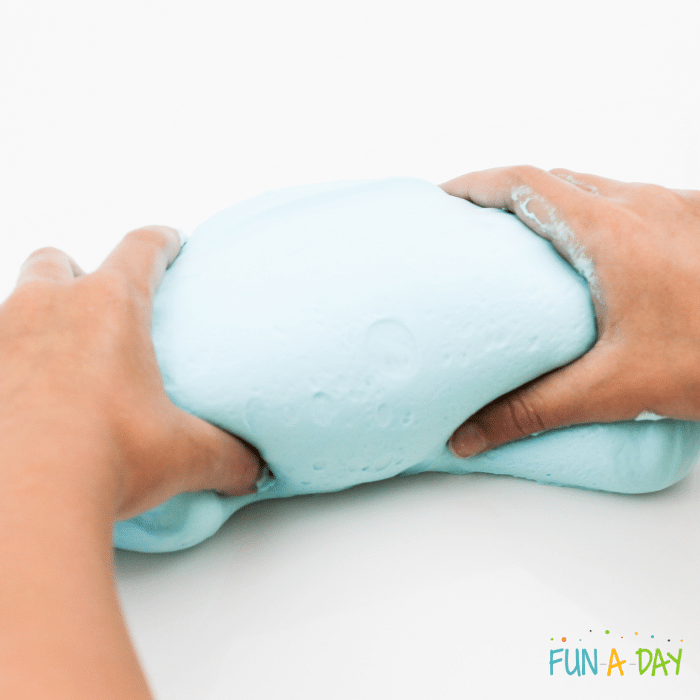
Finally, it’s time to knead your slime. This is an important step, so be sure not to skip it! If you need to, add a little bit of baby oil to your hands as you knead. This will make your hands less liable to get too sticky as you’re kneading.
Related: Mermaid Sensory Bottle
After a few minutes of kneading, your fluffy blue ocean slime should be ready to go!
Playing with the Under the Sea Slime
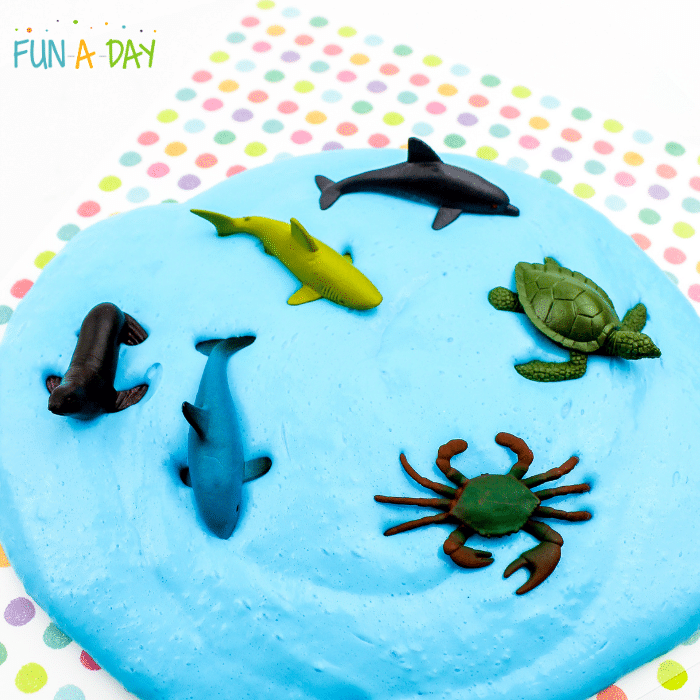
Once the slime is ready, it’s time to play! Place the ocean slime on a mat or in a shallow sensory bin.
Grab the ocean animal toys and put them beside the slime. Then observe as the kids play and explore the slime.
Some children will be set on stretching the slime as far as it will go. Others will just have a blast kneading or poking the slime with their fingers.
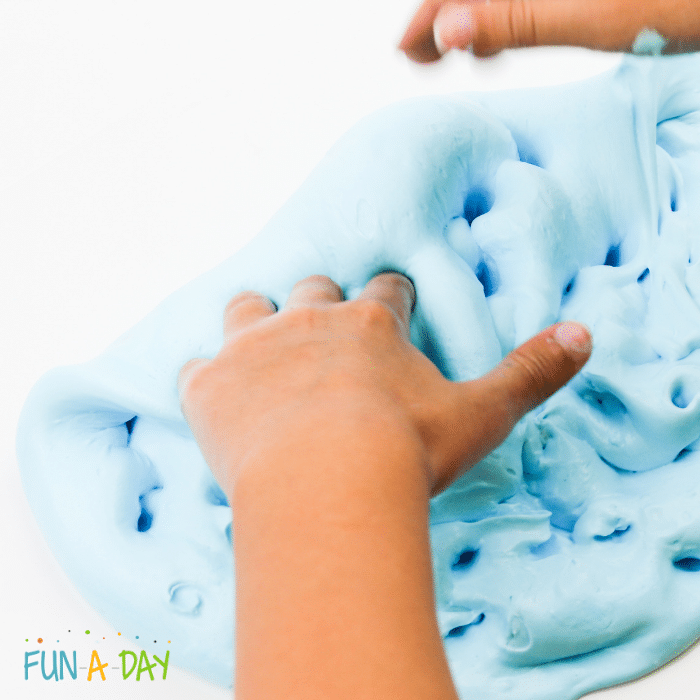
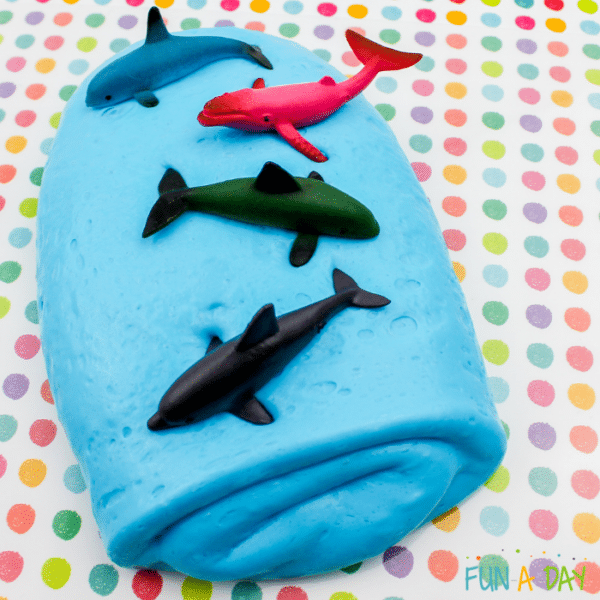
The kids can create waves for the ocean animals to ride. They can even roll it up to try something a little different.
Related: Birthday Slime
Many kids like making slime imprints, too! They can use their hands or ocean creature toys to do this. For an interesting challenge, make the imprints and then have the children match the toys to the correct imprints.
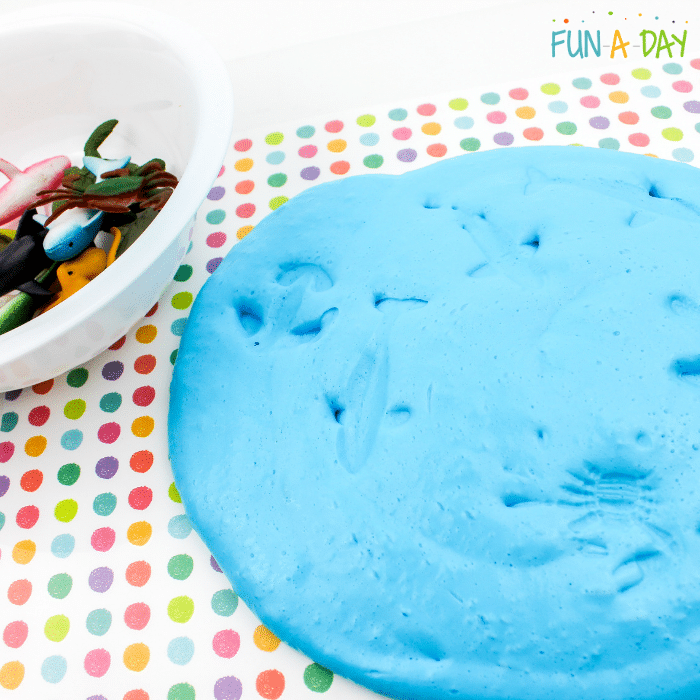
This is a very open-ended learning opportunity for children. Give them the materials and watch how they choose to use those items. If they’re anything like the kids I know, you will be amazed and entertained by all they do!
Ocean Slime Safety
Slime is a science activity and needs to be treated as such. As with all of the other activities you’ll find here on Fun-A-Day, this ocean slime requires adult supervision.
None of the ingredients, or the final product, should ever be ingested. If you have students who still put things in their mouths, I suggest making some alterations to this play. Consider putting the slime in plastic baggies or sensory bottles, like we did with our monster slime.
I’ve never run into skin sensitivity issues with any of our slime recipes, but it’s still important to watch out for this. Make sure the kids wash their hands before and after using the sea slime.
More Ocean Sensory Play
If your students enjoy this ocean slime, I found a few more ideas they might enjoy. Here are more ocean sensory activities to try with the children:
- Simple Ocean Sensory Bin from Fun-A-Day
- Ocean Sensory Bottle from Fun-A-Day
- Spaghetti Ocean Sensory Small World from Montessori From the Heart
- Ocean Sensory Bag from A Little Pinch of Perfect
- Fizzing Ocean Sensory Play from Stay at Home Educator
- Ocean Play Dough Invitation from Sugar, Spice, and Glitter
Done-For-You Preschool Resources
Do you have way too much on your plate right now? Let Preschool Teacher 101 help ease that burden with our full and comprehensive preschool lesson plans! We offer a huge variety of thematic lesson plans, complete with printables, instructions, activities, and even book recommendations.
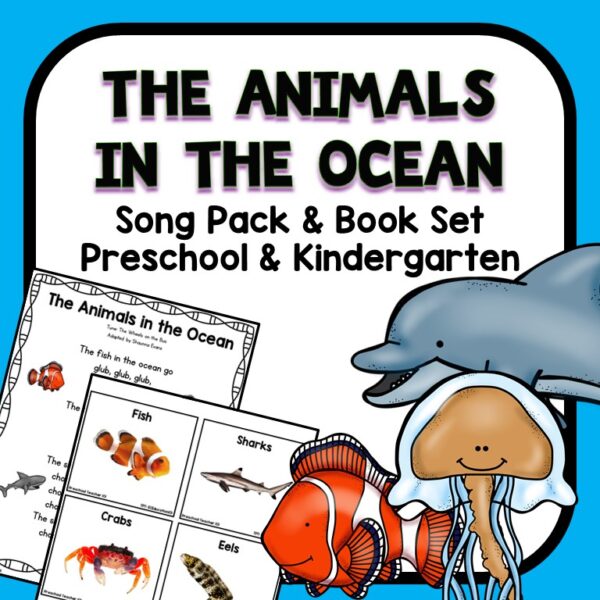
One of my favorite resources on Preschool Teacher 101 has to be our original song series. Click on the image below to learn more about our Animals in the Ocean Song Pack and Book Set!
Make sure to join the waiting list to become a member of The Pack by Preschool Teacher 101. Click on the images below to see even more of our ocean-themed resources.
My slime stayed REALLY sticky…what did I do wrong?
Oh no, that’s no fun, Shawna! I have a few suggestions when I’ve run into that issue. Here’s what’s worked for me – (1) Knead the slime for longer. This is what I try first, as it almost always helps. (2) Add a little more baking soda (up to about 1/2 teaspoon) and knead it into the slime. (3) Add a little more contact solution (up to about 1 teaspoon) and knead it into the slime). I’ve also heard of adding some baby oil (about 1 teaspoon) to the slime, but I haven’t tried that one yet. I hope this helps!!