When it comes to decorating my classroom, child-made bulletin boards are my favorite! Interactive writing displays, individual student art, or group artwork are a few of the ways to put together bulletin boards made by kids.
Classroom bulletin boards can be a great source of pride for the kids, especially when they are the ones who created them! Children can design the display and all of its components, all the way down to an artful border. Below, you’ll find an idea for a handmade border. Check it out!

Today, I’d like to share what I do to create borders for some of my bulletin boards. I don’t do this with every bulletin board, as I have tons of pre-made borders (I may have a problem . . . but they’re just so cute). However, letting the kiddos make the borders is just as cute as the pre-made borders, if not cuter! Plus, the kids and I can make the borders look however we want. That’s great when one of my pre-made borders just doesn’t cut it.
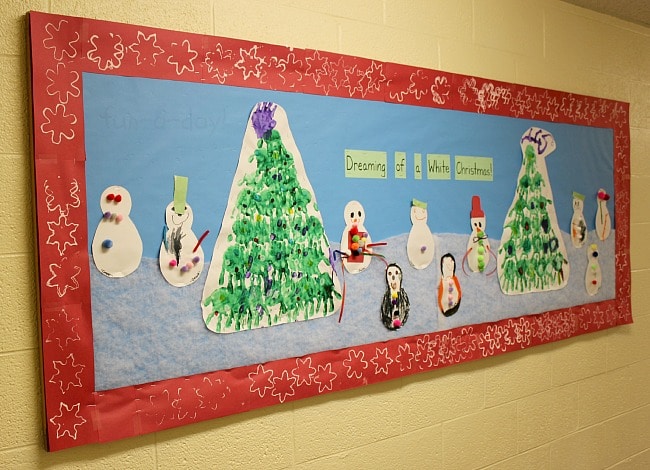
For a recent Christmas-themed bulletin board, I had my students make snowflake borders. It’s a super easy process, and most of the children enjoyed creating the borders with me. A few of the kids weren’t all that enthused, so I didn’t force the issue! 🙂
Related: “Quick as a Cricket” Fun Art for Kids
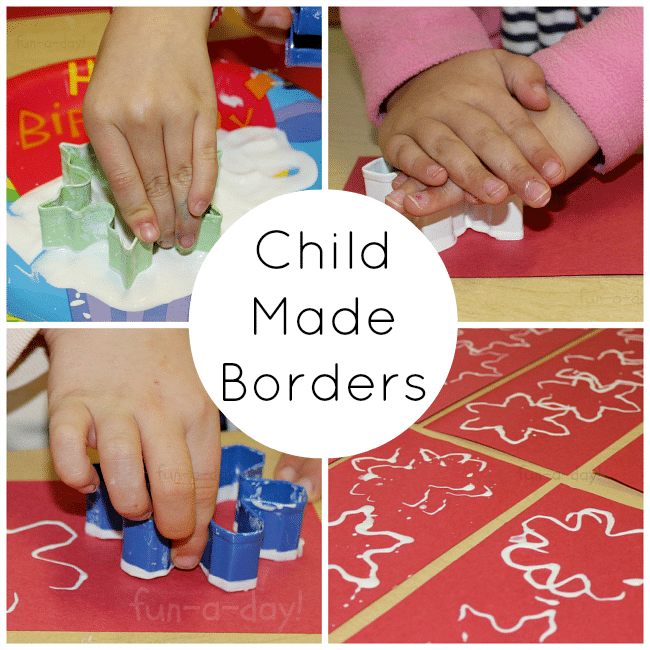
What we used (I may get commissions for purchases made through links in this post):
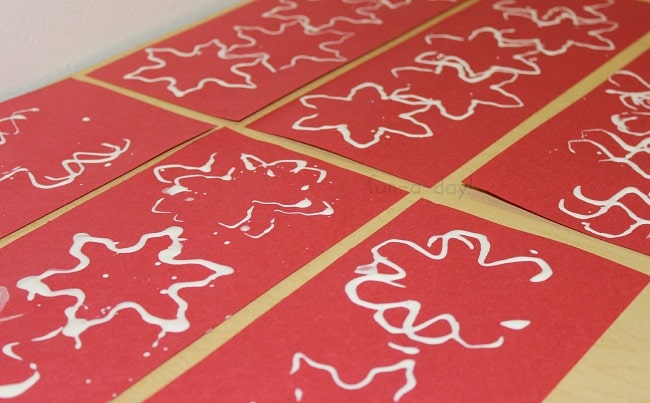
Red construction paper, cut into 3-inch strips (the size can be tailored to whatever size I want)
White tempera paint
Snowflake cookie cutters
How we made the borders:
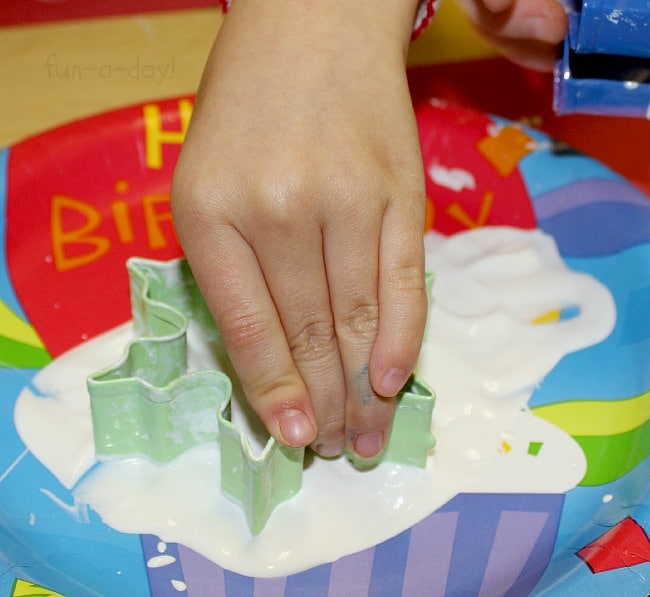
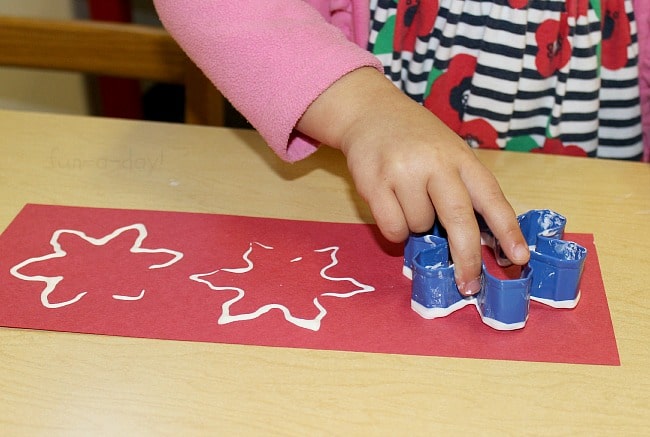
Like I said, the process was super simple. I placed some white paint on a paper plate leftover from a birthday party. I put the cookie cutters next to the plate, along with strips of red paper. At this point, I just let the kiddos come to me. Most of them wanted to know what I was up to and were eager to get stamping. Others . . . not so much! 🙂 Those children who were into it made tons of strips with snowflakes all over them. Some had just a few stamped on the strips, while others had a huge amount of snowflakes!
How I assembled the borders:
Once the “meat” of my bulletin board was done, I added the borders. I stapled them along the outer edges of the board. I did go back and add some tape to connect the pieces better — I forget to do this ahead of time sometimes!
The result
I know I’m biased, but I always love how the kids’ borders turn out! This one was no different. It’s far from perfect, but it’s mostly kid-made and that makes me happy! The kiddos thought it was funny that I used their art that way, but they liked it too! I think it looks very festive.
Like I said earlier, I LOVE child made bulletin boards, especially if the kiddos helped make the borders too! I should note that the longer pieces of construction paper work better. I used the 9×12 paper here because it’s the only red construction paper I had on-hand! It still led to a nice result, so I’m not worried about it!
Have you ever created a bulletin board, or borders, like this? I’d love to hear about it in the comments below!
Done-for-You Preschool Resources
Planning meaningful lessons for students week after week, all while balancing other teaching responsibilities and a personal life, can be a daunting task. That’s where Preschool Teacher 101 comes in to save you time!
Preschool Teacher 101 is excited to share with you some amazing lesson plans, activity packs, and other resources made specifically for preschool. We offer a wide variety of themes that are frequently used in preschool classrooms as well as less common (but super interesting) themes. Click on the image below to learn more about some of our winter-related products!


Join The Pack from Preschool Teacher 101 today for exclusive access to our amazing products. And we even have three different membership options to suit your needs!
That does make a cute border! Very neat & original idea!
nice boarder/ nice activity for the kids, they can be creative