Make some silver slime with the children today. It’s another great addition to the many types of slime your students will love making!
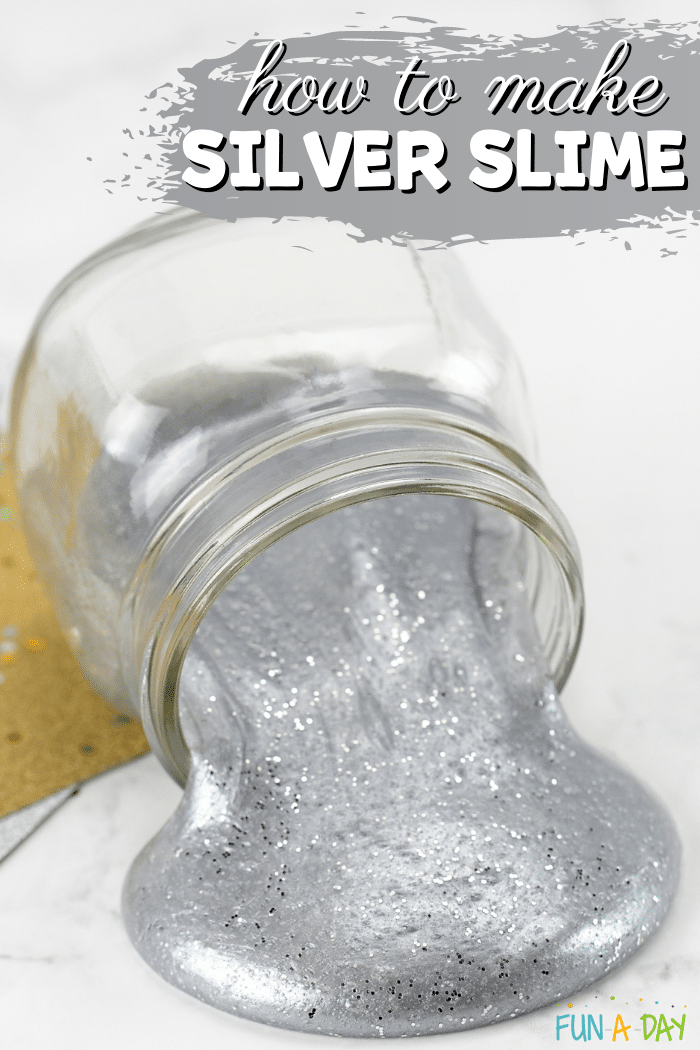
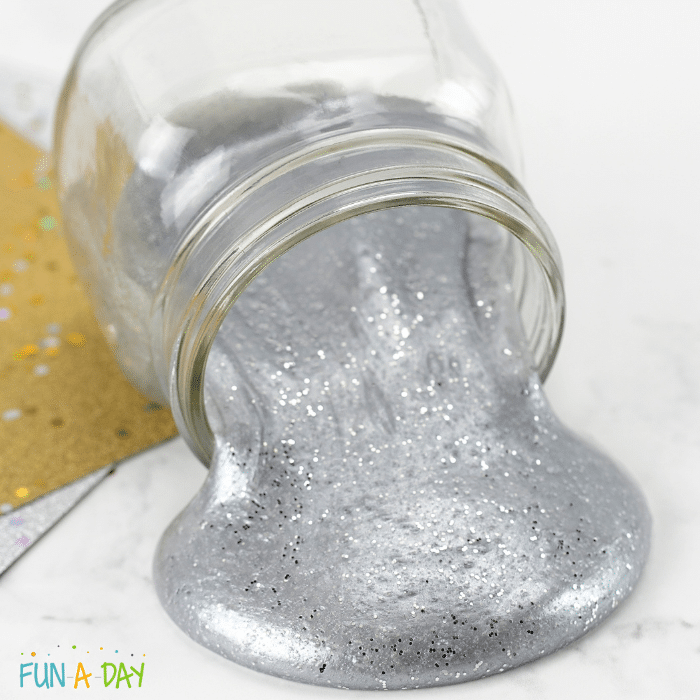
Apparently, I just love shiny, sparkly slimes. Our gold slime recipe is still one of my absolute favorites. But this silver slime might be evening out the odds now.
You can even take this slime, mix it up with the gold slime, and create your own new year slime! (Of course, it doesn’t have to be made only around the new year, in my opinion.)
Silver Slime
This silver slime recipe is super simple to make – the perfect opportunity to let the students join in on the fun of creating something from scratch. You also won’t need a ton of ingredients, which is a major plus in my book!
Related: Tiger Slime for Little Wild Animal Fans
Materials for Metallic Slime
So, first you need to gather the materials. Don’t worry – there aren’t many. Here’s what you need to make your own silver slime (I may get commissions for purchases made through links in this post):
- 5 ounces clear glue
- 2 tablespoons silver liquid watercolors
- 4 ounces liquid starch
- Silver glitter (optional)
As you can see, there’s not too much you need to grab in order to make the metallic slime for yourself.
How to Make Silver Slime
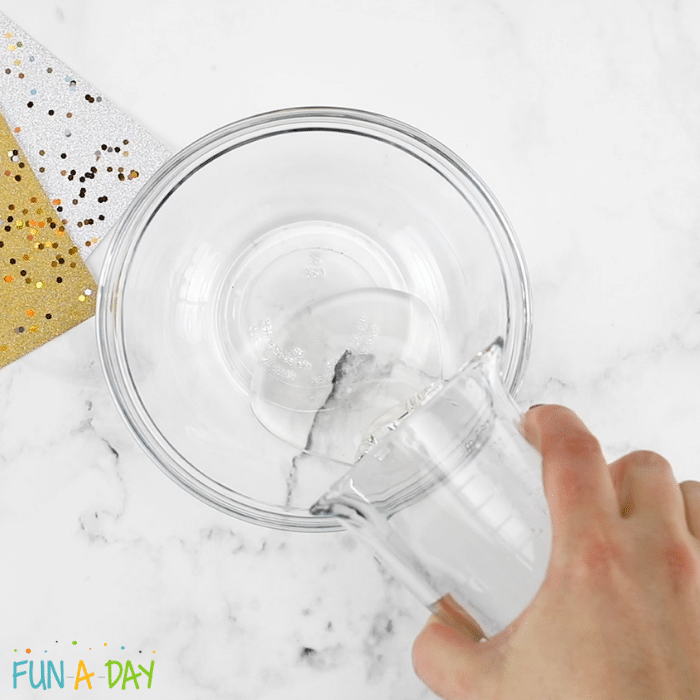
Start off by pouring the bottle of clear glue into a bowl. If you buy your glue in bulk, as I do, you can easily measure out 5 ounces instead.
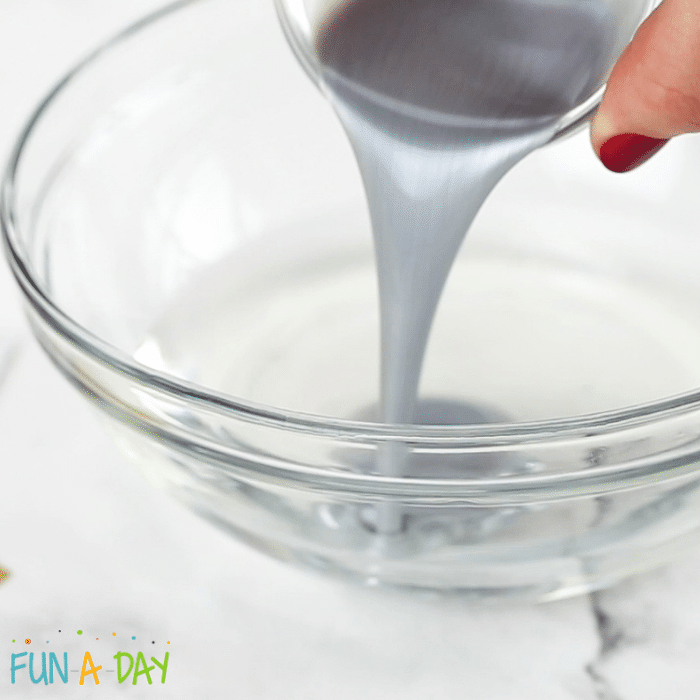
Then add the silver liquid watercolors to the glue. This is what gives the silver slime its beautiful sheen. We used about two tablespoons of silver watercolor. You can definitely adjust the amount based on your own preferences.
Once the glue and watercolors are mixed, it’s time to add the liquid starch. Add about 4 ounces slowly to the bowl, stirring along the way. Keep stirring until the slime starts forming. And that’s when you’ll notice the slime separating from the bowl.
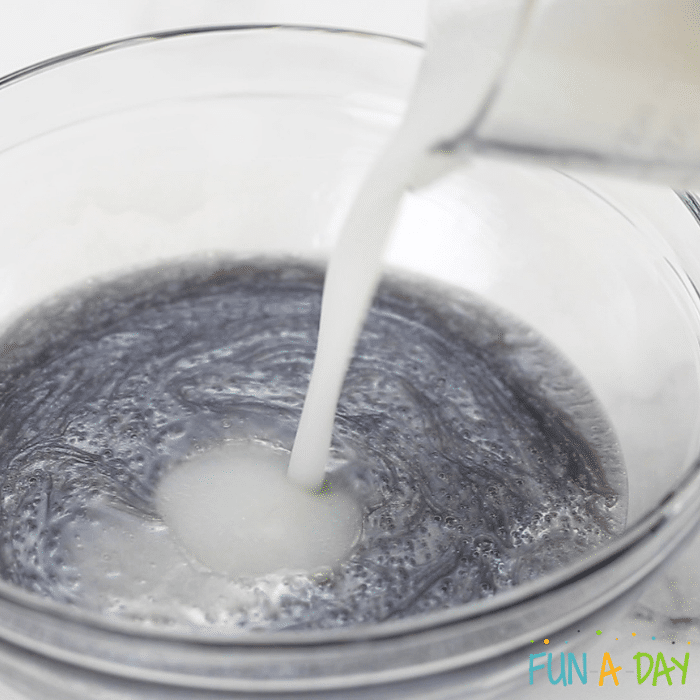
After that comes the important part . . . kneading your slime! Just like you’d knead bread dough. Of course, my son pointed out that we knead more slime than we do bread dough at my house. But really, I don’t see anything wrong with that!
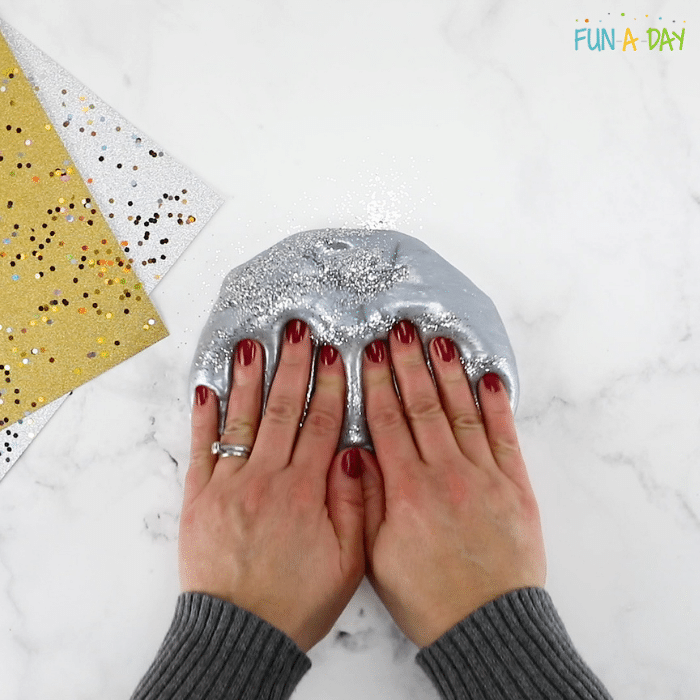
When the slime reaches the right consistency, you can add some silver glitter to it if you’d like. Then it’s time to play!
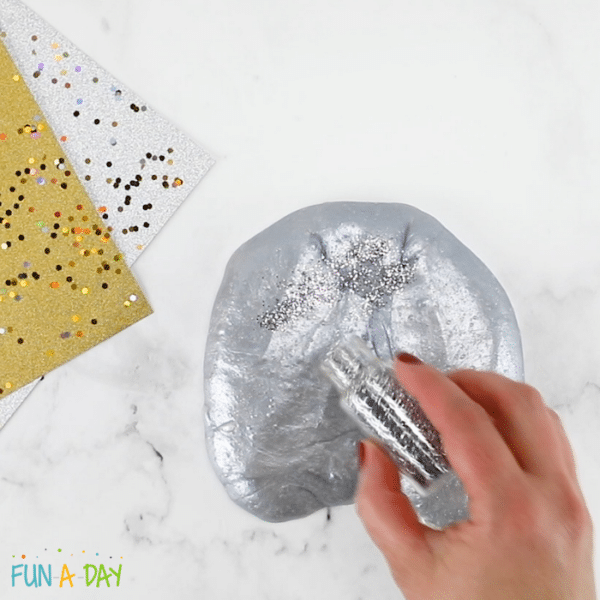
If you’re a regular reader of Fun-A-Day, this recipe might sound a bit familiar. We made our gold slime the same way. For some additional insight as to just how simple this recipe is, take a look at this quick video tutorial:
Playing and Learning with Slime
There’s nothing wrong with playing with slime just for fun! But I did want to touch on some of the early learning skills that are involved in the process. Here are a few of them:
- Measurement
- Sensory exploration (sight and touch)
- Chemical reactions
- Viscosity
- Descriptive vocabulary
Of course, that isn’t every single thing the children can practice and explore with the silver slime. Just think of all the social skills they can practice along the way, too!
When it comes to playing with the metallic slime, there are so many ways the kids can get into it! Slime is an open-ended play material, which is one of the many reasons I love it.
Some children will focus on stretching the slime. They’ll want to see how far it stretches when pulled fast, as well as how far it can stretch when moved slowly.
Other children will have fun pressing items into the slime. I find that most kids enjoy making their handprints in the slime. Manipulatives, like glass gems, are something you can consider offering the children, too.
Still, others will want to incorporate the silver slime into pretend play. Add some of the kids’ favorite people or animal toys. I think robot toys would be perfect with the silver slime, too.
Try setting the slime out with some nuts, bolts, and googly eyes so the kids can make their own slimy robots! Then, add it to your expanding list of robot activities for preschoolers.
Do you have any other fun ideas for students to engage with the silver slime? Make sure to let me know in the comments below!
Oh, and Frugal Fun for Boys and Girls has a really cool tutorial on how to make magnetic slime. Be sure to check it out!
Silver Slime Safety
I like to think of slime as one of the really fun science activities for kids. So, with that in mind, let’s go over some slime science safety tips. Here are the basics:
- Adult supervision is required, as with all other activities I share here.Nothing should be ingested (this goes for the individual ingredients, as well as the final product). Put the slime in bottles or baggies for children who still put things in their mouths.
- Wash hands before playing with the slime. And then wash hands after playing with the slime.
- Keep an eye out for possible skin sensitivities, just in case.
As I always say, safe parameters help keep things fun during learning and play!
Done-For-You Preschool Resources
As I mentioned, I think this silver slime would be so fun if paired with some nuts, bolts, and random objects for the kids to create their very own robots! Why not take it a step further and guide your students through a whole unit of robot lesson plans from Preschool Teacher 101?!
So, if you think your students would be thrilled to talk about and explore robots, be sure to take a look at our robot lesson plans!

Don’t forget to join the waiting list to become a member of The Pack from Preschool Teacher 101. To best suit your needs, we have three membership options that will provide you with access to our current and new product listings.

Leave a Reply